
Clip in hair extensions are the type of hair extensions that can be easily fixed to your own hair, thus providing it with length, volume, and variety without having to use a permanent solution on your hair. It is easy to put on, very comfortable, and you can style it in any way, just like your natural hair. If you would like to give your hair a more polished look, learning how to fix human hair clip extensions is very important for you. Here is a guide that will assist you in achieving an amazing look and feel for the Remy clip in hair extensions:
Step 1: Prepare Your Hair
It is true that, clip in hair extensions stay well and look more realistic on washed hair. You can also blow dry or use other products to make your hair a little similar to the extensions (for instance, if the extensions have straight hair and you have slightly curly hair, then you can straighten your hair a little).
Step 2: Organize Your Extensions
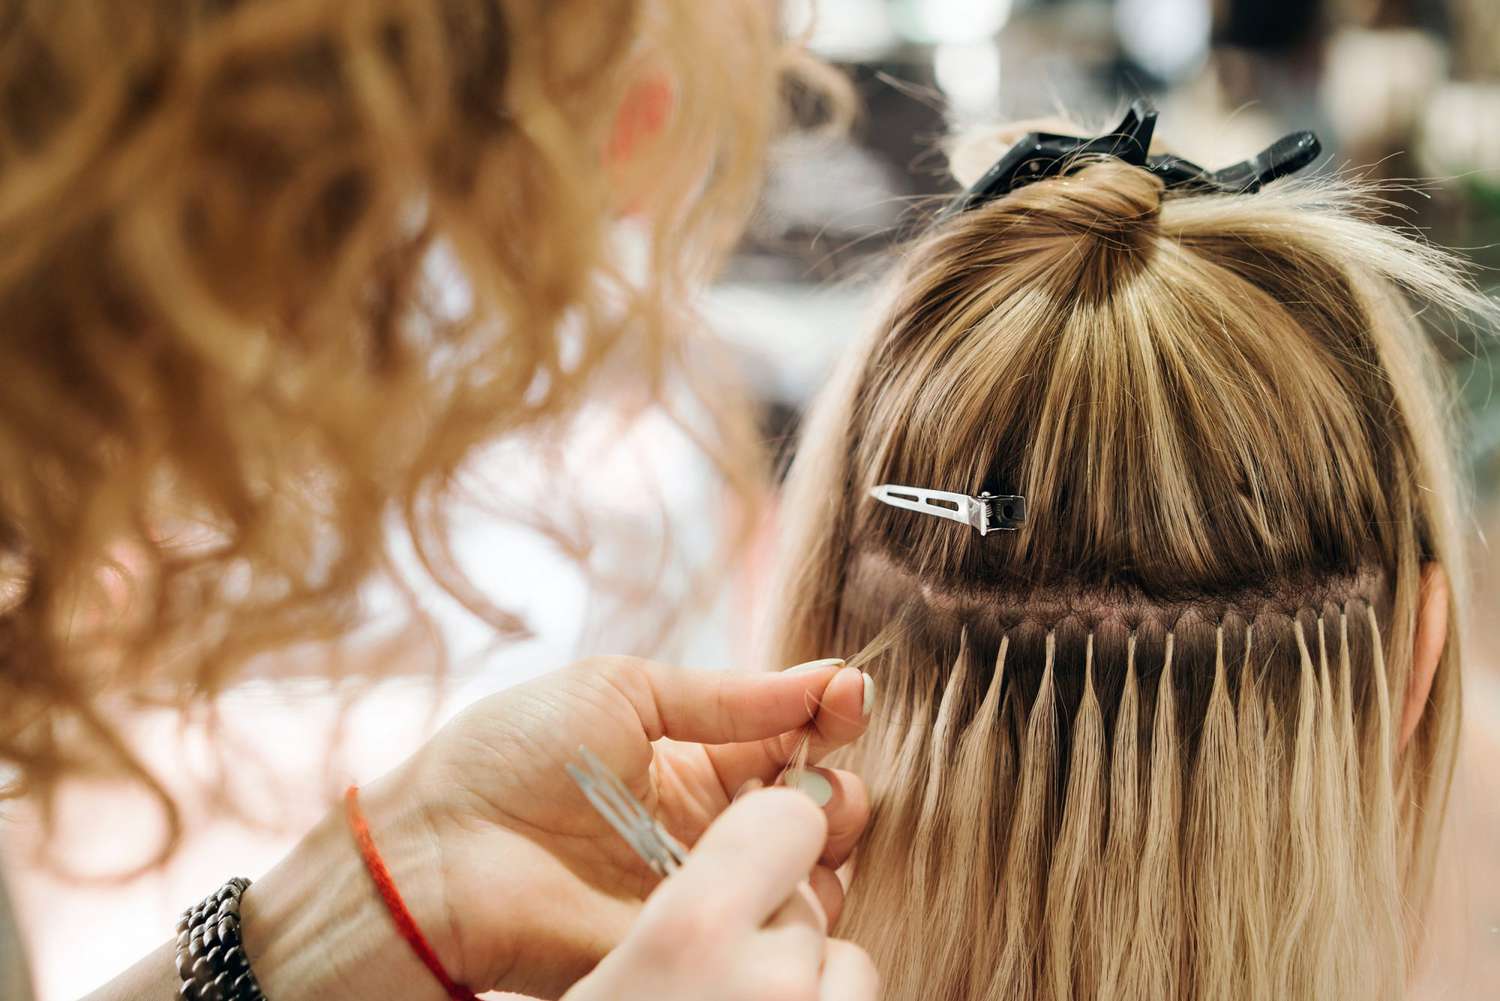
Human hair clips in extensions are usually in the form of multiple wefts (a number of strands of hair). Lay them out in order of size:
The widest weft with four clips is put at the back of your head.
Medium wefts with three clips styled around the sides.
The single or double-piece wefts are used for additional volume and blending.
Step 3: Section Your Hair
Section your hair horizontally, beginning from one ear along the top of your head up to the other ear, at the level of the nape. Part your hair at the upper portion to make it easier for you if you are right-handed. Use your right hand to clip it.
Step 4: Tease and Apply the First Weft
Separate the roots of the sectioned hair where you intend to put the initial weft carefully by sliding a comb. This ensures that the clips get a better hold on the pipe. First, twist the middle clip towards the head and fix it near the roots. Snap the clip shut. Finally, you need to fix the side clips so that the weft is neatly placed on the scalp without overlapping the hair strands.
Step 5: Blend the Extensions
Once the first weft is secure, you will have to unclip the part of your hair and make a new horizontal part a little bit higher than the previous one. Pull the rest of your hair. Take the next weft (with three clips), tease the roots if necessary, and attach it following the same method: middle clip first, then side clips.
Step 6: Continue Adding Wefts
Go on with this procedure, raising your head and inserting wefts, until all the major ones get fixed properly. For the sides of your head, use the smaller wefts, thus allowing you to apply them to the top part more comfortably. Section your hair horizontally, right above your ears, and place the smaller wefts there. Make sure they are fixed on the face, preferably around the forehead region, but not touching the scalp.
Step 7: Blend and Style
When all the pieces are clipped in, take out all your hair and use a soft brush to comb the natural hair, starting from the roots, to the extensions. Use a flat iron or curling iron. A hairspray should be used so that it allows the extension to set and thereby makes the style long-lasting.
Step 8: Final Touches
Finally, look in the mirror to be sure that all the wefts are properly concealed and the extensions match your hair well. Style your hair using your fingers or comb, and if there are lines formed between your natural hair and the extensions, ensure that they are not clearly seen.
Final thoughts
Clip in hair extensions are one of the easiest methods for giving your hair a new look, and you can use them at any time. By following these tips, you will be able to achieve a natural and attractive outcome for your hair. With time, you will be able to apply your clip-in hair extensions independently after some time, thus boosting your self-esteem.
Stay in touch to get more updates & news on Vents Fashion!